
Guides
Mortal Shell 2 Build Guide: Plan Your Shell and Weapon Before Spending Upgrades
Published Sep 24, 2026 · 6 min read
What you can take back
Three currencies shape a build, and the game treats them differently.
- Shell Points. Spending Gloom on levels grants Shell Points. You spend them on a shell's abilities, and you can refund an ability at any time and spend the points again, for one shell or for all of them at once.
- Glimpses. Glimpses raise a shell's Bond Tier at the Shellkeeper, and a Glimpse at a summons marker permanently unlocks that shell's summon. Spent Glimpses cannot be refunded.
- Tarforge materials. Weapon and sidearm upgrades cost Coin plus Ventrium and the other Mether fragments (Laterite, Dorsalite, Thoracium, Ossinite). Smelting draws materials back out of an enhanced weapon or sidearm, but only after the forge can smelt.
The rest of this guide follows that order. Settle the shell before you spend Glimpses, settle the weapon before you spend materials, and treat Shell Points as free to experiment with.
Choosing a shell
Tiel is the first shell you can keep, found in Part 5 of the walkthrough. Proxima follows in Part 11 and Gragu in Part 12. Every shell has its own ability grid of four rows with three abilities in each. The first row wakes when you discover the shell's full name at the Shellkeeper. Each further row opens at the next Bond Tier, up to IV. Bond Tiers are raised at the Shellkeeper with Glimpses, and those Glimpses do not come back.
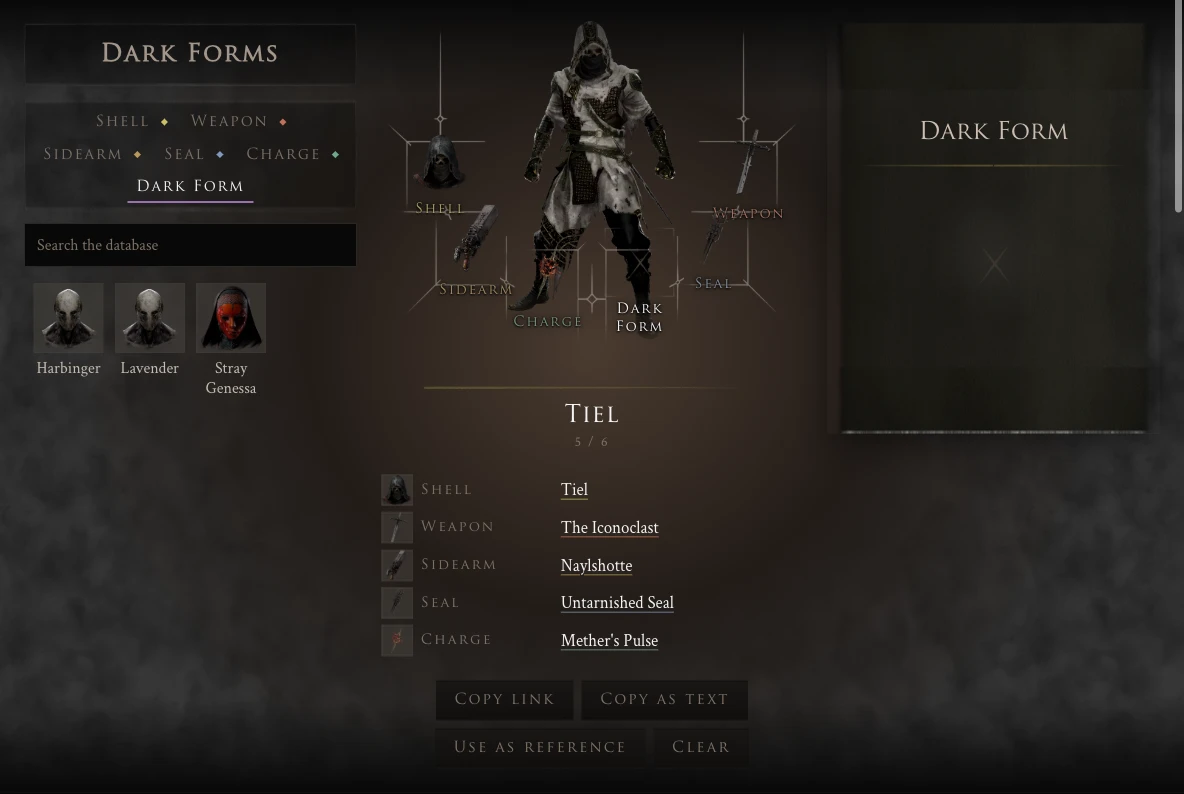
Because Glimpses are the one spend you cannot undo, pick the shell you want to deepen before you visit the Shellkeeper. In the Build Creator, choose the shell, set its Bond Tier, and spend levels across the rows that tier opens. Rows above the tier stay locked, as they do in the game.
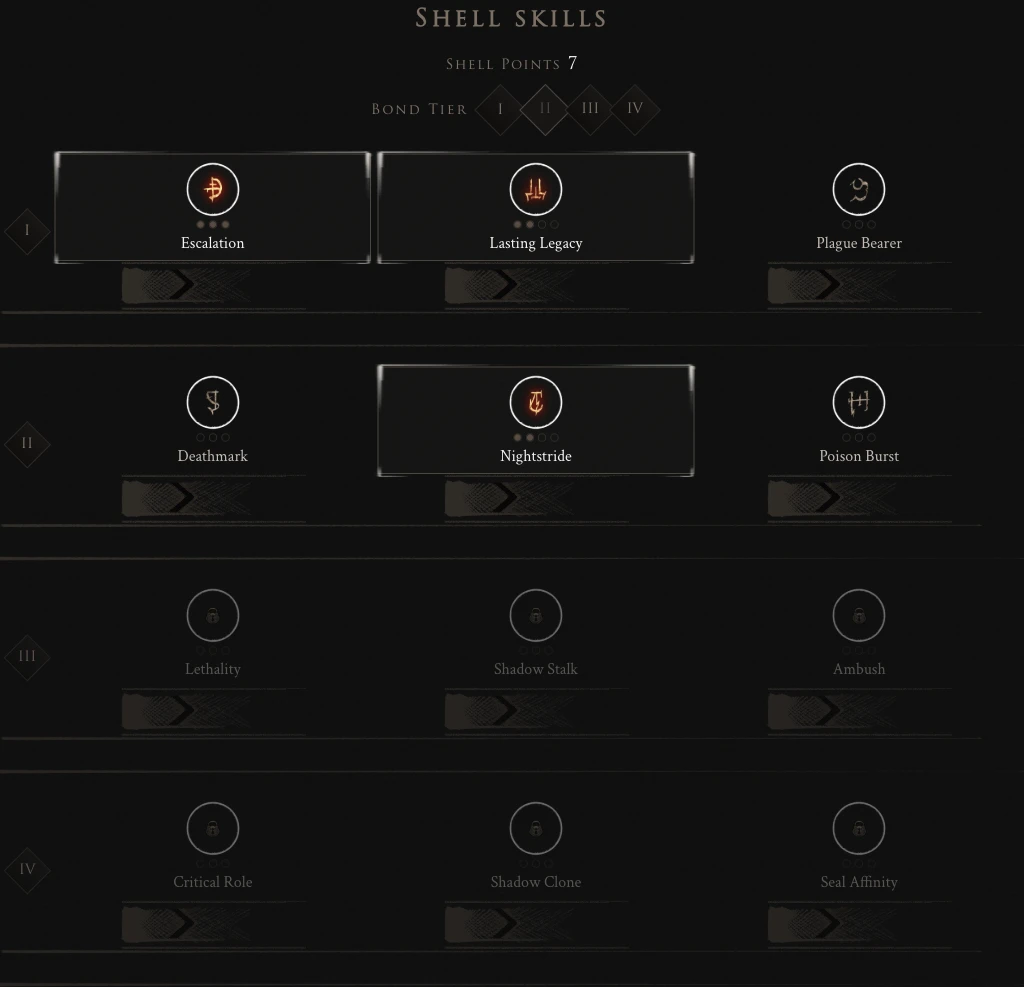
Each ability has three or four levels. The Shell Points counter adds up the levels you have taken. Your Shell Points Capacity, which caps how many abilities are active at the same time, grows as you play, and the game files carry no fixed value for it, so check that limit on the game's shell progression screen before you plan a full grid.
Shell Points cost nothing to move, so try a row in the game before you raise the next Bond Tier. If the abilities in row II do not suit how you fight, refund them and bond a different shell instead.
Weapon and sidearm
The loadout sits around the shell the way the game's inventory screen frames it. A new Harbinger starts with The Iconoclast, Naylshotte and the Untarnished Seal. Vatra's Seal arrives in Part 3 and the Infinite Seal in Part 4. Equipping the Slayer Seal disables achievements on that save file, so leave it out of a build you mean to use on an achievement run.
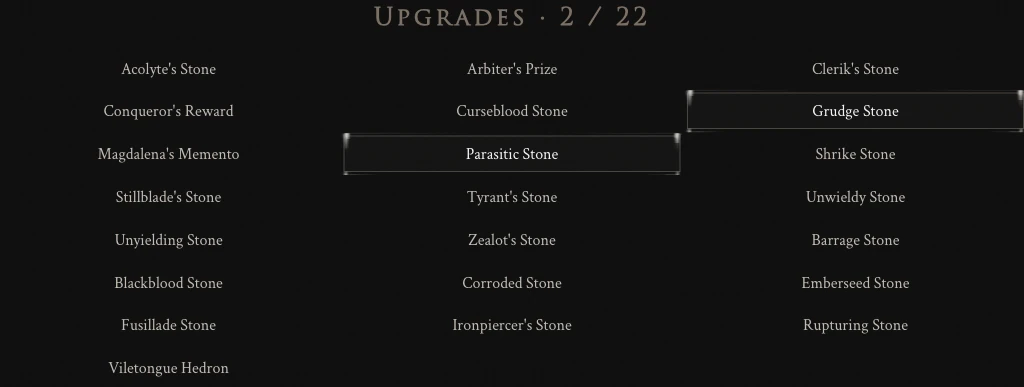
Most weapons and sidearms have their own upgrade pool, the set of tarstones the game rolls for them. Choose a weapon and a sidearm in the Build Creator and both pools appear together under Upgrades. Mark the stones you want to plan around. The Iconoclast's pool includes the Parasitic Stone, which you can pick up in Part 5, and the Grudge Stone.
When to spend upgrade materials
The Tarforge starts without its parts, and each part you bring it opens one job.
- Muradean Actuator. Upgrades melee weapons. Franz takes it at the forge in Part 4.
- Obsidian Lathe. Upgrades sidearms. It turns up in Part 5.
- Etching Needles. Upgrades and levels tarstones. They sit in a bridge chest in Part 9.
- Foundry Stone. Smelts materials back out of enhanced weapons and sidearms. Merrick sells it in Part 10.
- Endless Core. Removes the level cap on weapon and sidearm upgrades.
Until the forge holds the Foundry Stone, nothing returns the Coin and Ventrium a weapon has absorbed. Spend them on the weapon you have compared and decided to keep. The walkthrough's first forge visit puts stockpiled Ventrium into The Iconoclast, the sword you start with. Once smelting is open, a weapon you have stopped using can give materials back. The game text does not say how much comes back, so smelt a weapon only when you are done with it.
Tarstones level on tarstone experience from defeated enemies, and moving a stone from level 2 to level 3 costs a Tarcore. Levelling any tarstone drops Tarcores at the forge's mouth, so levelling a stone you plan to drop still pays toward the stones you keep.
Two materials never touch the forge. Revered Gland and Synaptic Vessel are consumed at a Beacon, where they improve Mether's Pulse. Nothing else competes for them, so there is no reason to hold them back.
Compare before you commit
Before you put materials into a second weapon, set the two side by side. Choose Use as reference in the Build Creator, then swap the weapon. The comparison lists both loadouts with the changed slots marked, and the skill and upgrade rows of each.
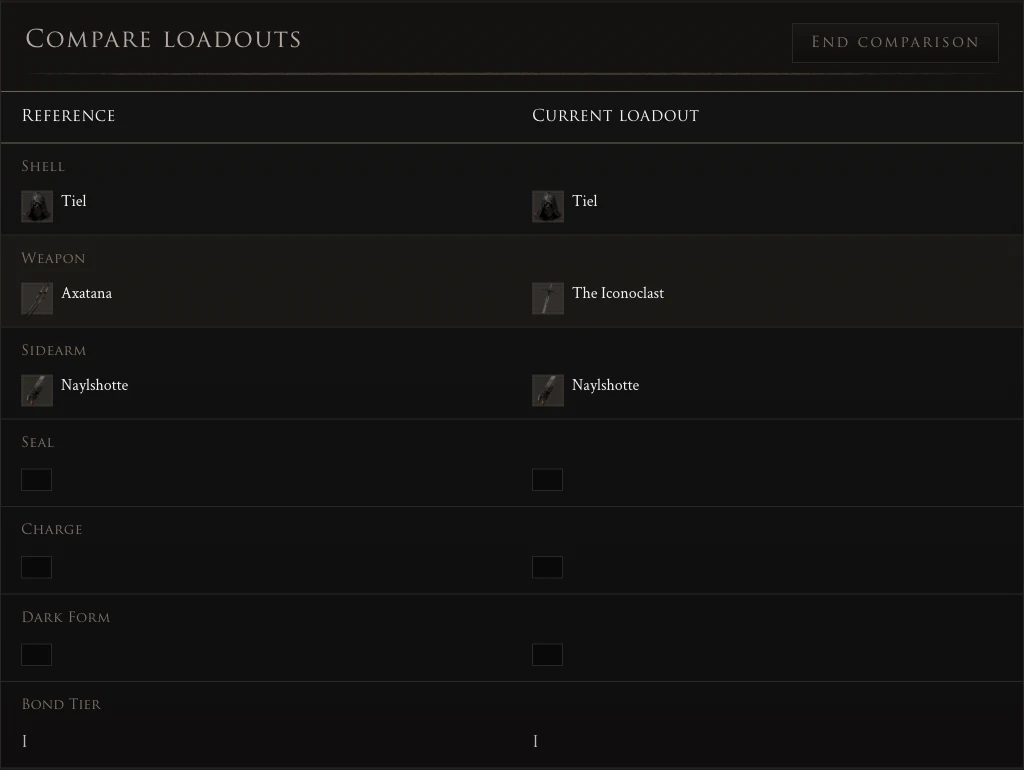
The build lives in the page address, so Copy link shares it exactly as you left it, comparison included. Save keeps it in this browser for your next visit.